
Not Found
The page you’re looking for has been deleted, or the product you’re searching for is discontinued. Please Contact Us if you’ve any questions. Thanks.
Browse Hottest Products
-
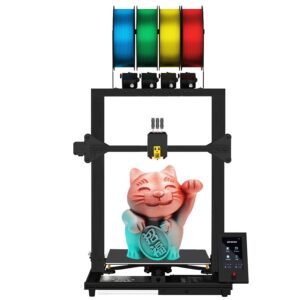
ZONESTAR Large Size Silent FDM Mix Color 3D Printer DIY Kit
Sale! Original price was: $699.00.$499.00Current price is: $499.00. Supplier: Zonestar 3D Printers
-

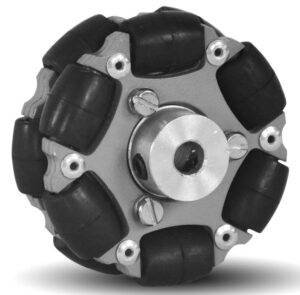
Omnidirectional Mecanum Wheel with 65mm High Hardness Plastic for Robotics
$32.99 Supplier: Hiwonder
-

800KG Payload HMA-31 Omni Wheel
$1,700.00 Supplier: Hangfa Robotics
-
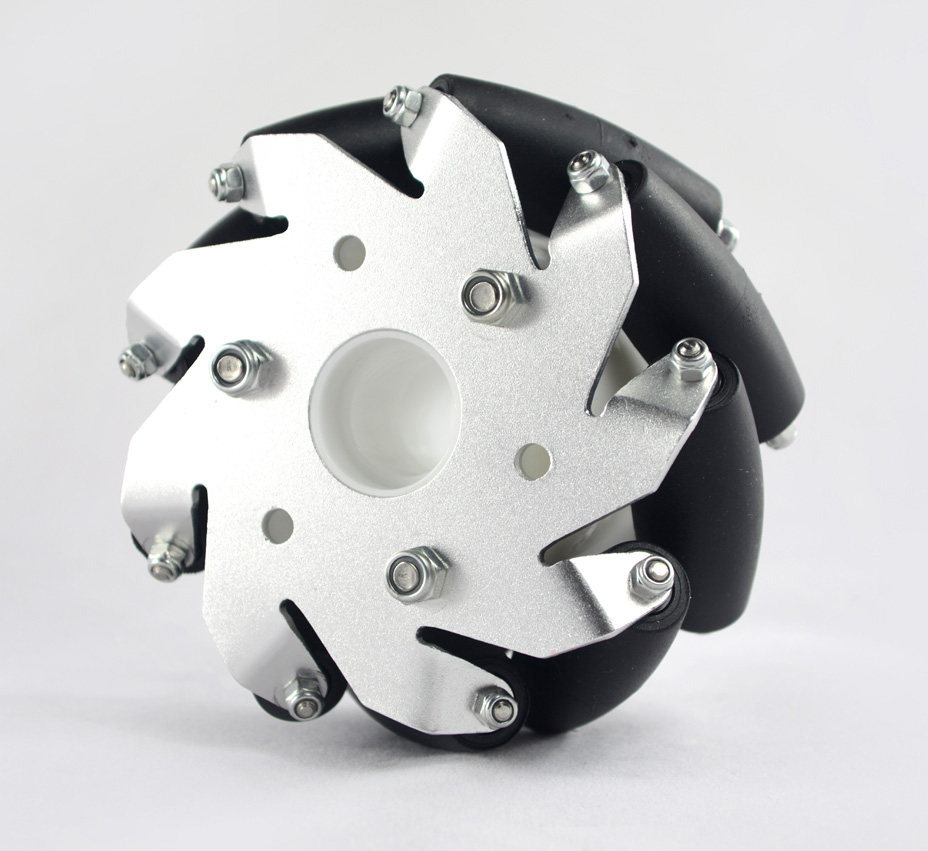
2 Inch High-Quality Custom Light Load Omni Wheel with Double Rolling Bearing
$49.90 Supplier: Hangfa Robotics
-
4 inches Aluminum Mecanum Wheel Basic Right – 14162R
$20.00 Supplier: Nexus Robot
-
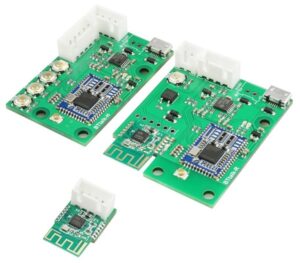
Bluetooth Wireless Communication Kit for 2 Way Radios
$64.95 Supplier: TinySine
-

Oscal 300L Trolley Foldable Wagon for Long-Lasting Efficient Transport
Sale! Original price was: $159.00.$139.00Current price is: $139.00. Supplier: Oscal
-

Zendure Portable Power Station SuperBase Pro 1500
Sale! Original price was: $1,799.00.$1,299.00Current price is: $1,299.00. Supplier: Zendure
-
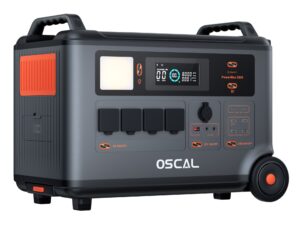
Portable Power Station Oscal Powermax 3600, 3600W, 3600Wh
Sale! Original price was: $2,599.00.$1,699.00Current price is: $1,699.00. Supplier: Oscal
-
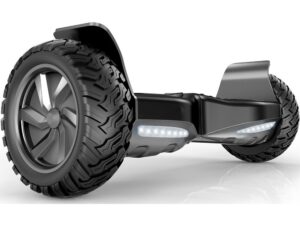
All-Terrain Hoverboard 8.5″ Big Wheel Self Balancing Scooter with Bluetooth and LED Lights
$279.00 Supplier: Asiwo
-
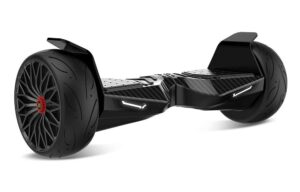
TwoDots Off-Road Hoverboard for Adults 8.5″ Smart Two Wheel Self Balancing Scooter – Carbon Fiber
Sale! Original price was: $599.99.$369.00Current price is: $369.00. Supplier: Asiwo
-
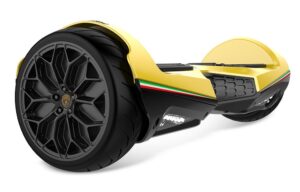
6.5 Inch Lamborghini Hoverboard with Lights and App Two-Wheel Self Balancing Scooter
$259.00 Supplier: Asiwo
-
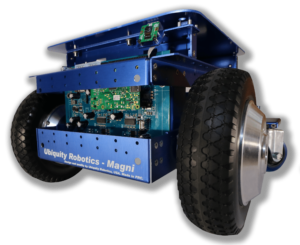
Highly Capable Robot Platform by Ubiquity Robotic
$2,495.00 Supplier: Ubiquity Robotics
-

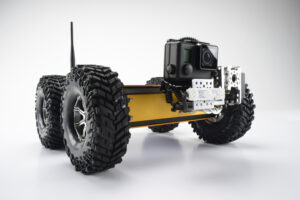
4WD Rover Zero 3 Mobile Robotic Platform
$4,000.00 Supplier: Rover Robotics
-
Front Tilt Minibot – Low Profile Inspection Robot
$5,990.00 Supplier: Inspectorbots
-
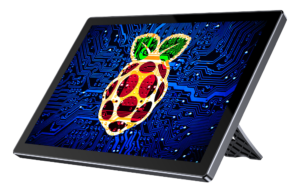
Raspberry Pi Case with Touchscreen 10 inches UPi B7 by UPERFECT
Sale! Original price was: $239.99.$169.99Current price is: $169.99. Supplier: UPerfect Monitor
-
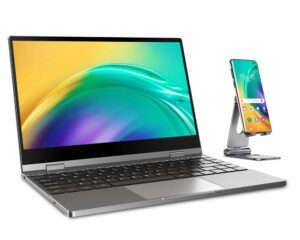
UDock X 14 Pro – Wireless LapDock DeX Monitor TouchScreen
Sale! Original price was: $599.99.$379.99Current price is: $379.99. Supplier: UPerfect Monitor
-
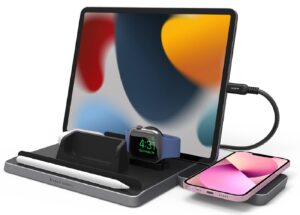
Wireless Charging Station for iPad, iPhone, Apple Watch, Apple Pencil and AirPods
Sale! Original price was: $99.00.$79.00Current price is: $79.00. Supplier: Adam Elements