
Not Found
The page you’re looking for has been deleted, or the product you’re searching for is discontinued. Please Contact Us if you’ve any questions. Thanks.
Browse Hottest Products
-

Bebcare iQ WiFi HD Smart Baby Monitor
$309.00 Supplier: Bebcare
-
Bebcare Hear Digital Audio Baby Monitor
$189.00 Supplier: Bebcare
-

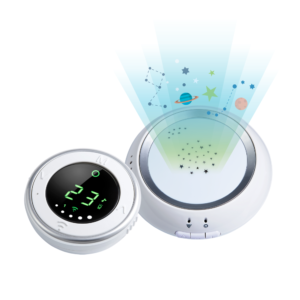
Bebcare Motion Digital Video Baby Monitor
$279.00 Supplier: Bebcare
-
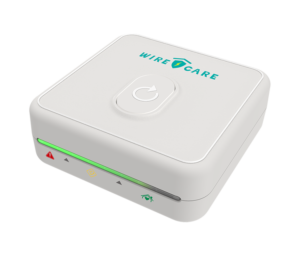
Prevent Electrical Fires at Home and Workplace -Wirecare
$159.00 Supplier: Brook Design, LLC
-

ScanMira – Turn your iPhone or iPad Pro with FaceID into a Full-Color 3D Scanner!
$59.99 Supplier: Scanmira
-
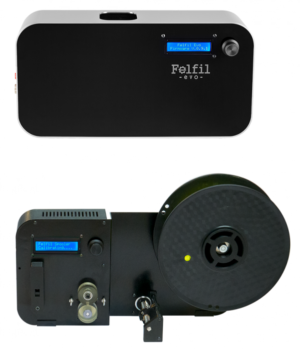
Bundle Felfil Evo and Spooler – Extrude and Spool Your 3D Printing Filament in a Fast and Easy Way
$1,404.00 Supplier: Felfil
-

BREATHE Airmonitor Plus 8-in-1 Smart Air Quality Monitor
Sale! Original price was: $149.00.$119.00Current price is: $119.00. Supplier: Breathe Tech
-

Webcam for Remote and Home Office Users – VDO360 SEEME – 1080p HD USB
$50.00 Supplier: VDO360
-

CEM30 New Brushless DC Motor High Torque Rated Torque 30 Nm CAN BUS
$1,115.00 Supplier: MyActuator
-

VDO360 TeamCam – HD 3x Digital PTZ USB Camera
Sale! Original price was: $299.00.$225.00Current price is: $225.00. Supplier: VDO360
-

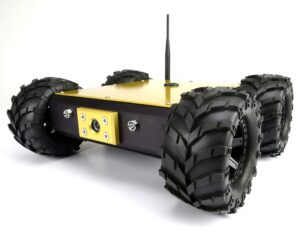
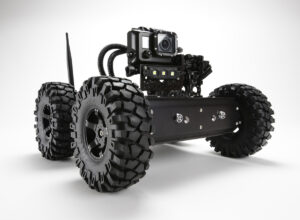
Pan Tilt Minibot – Industrial Inspection Robot
$5,490.00 Supplier: Inspectorbots
-
Minibot – Industrial Inspection Robot
$4,990.00 Supplier: Inspectorbots
-
Stealth Pan Tilt Minibot – Tactical Inspection Robot
$7,750.00 Supplier: Inspectorbots
-
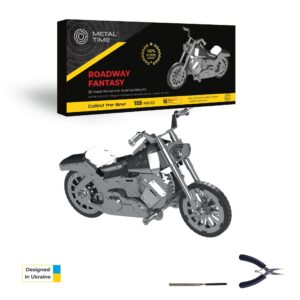
Roadway Fantasy Harley DIY Motorcycle Mechanical Model Kit
Sale! Original price was: $89.00.$69.00Current price is: $69.00. Supplier: Metal-Time
-
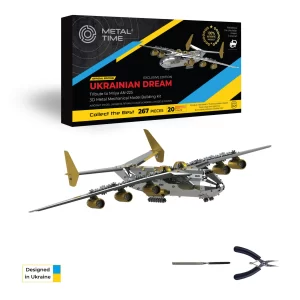
Aircraft Model AN-225 MRIYA – Official Exclusive Edition DIY Kit
Sale! Original price was: $179.00.$129.00Current price is: $129.00. Supplier: Metal-Time
-
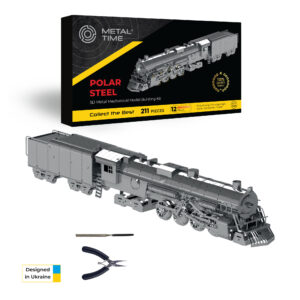
Polar Steel DIY Magic Express Train Kit Electrical Model
Sale! Original price was: $129.00.$99.00Current price is: $99.00. Supplier: Metal-Time
-

Voracious Harvester DIY Mechanical Model Kit
Sale! Original price was: $115.00.$89.00Current price is: $89.00. Supplier: Metal-Time
-
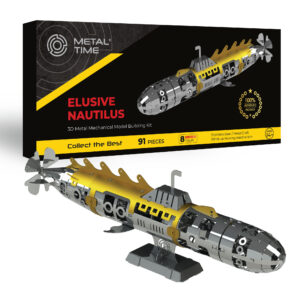
Elusive Nautilus DIY Submarine Kit Mechanical Model
Sale! Original price was: $79.95.$69.00Current price is: $69.00. Supplier: Metal-Time