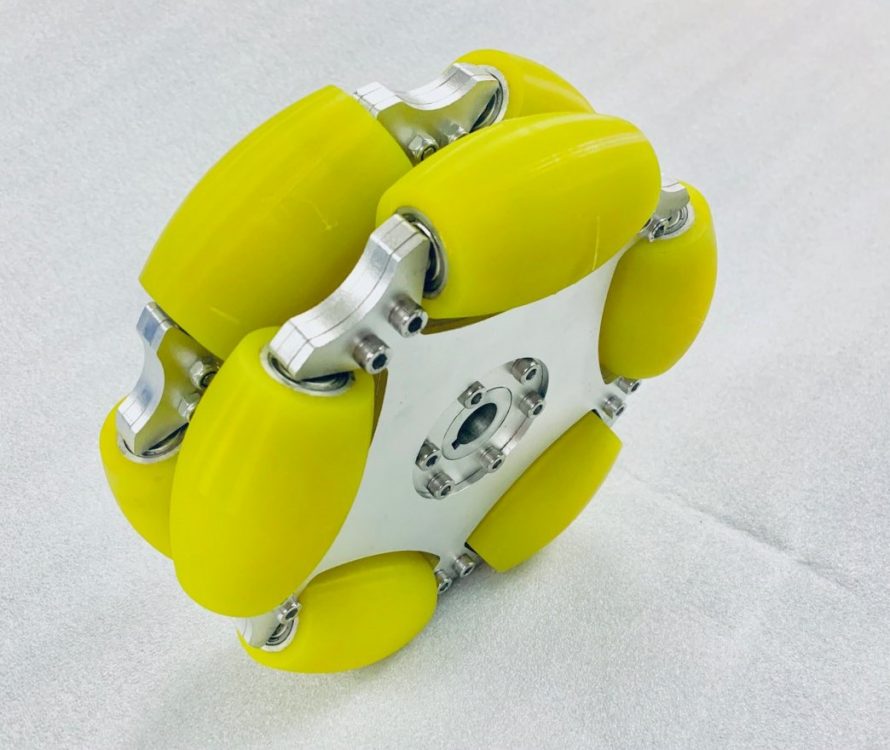
Omni and Mecanum Wheel Manufacturing and Customization Services
We manufacture and customize Mecanum and Omni Wheels for businesses, industries, schools, and professionals.

We manufacture and customize Mecanum and Omni Wheels for businesses, industries, schools, and professionals.
Traffic light timing programs aim to develop further adaptive signal control technology (ASCT) to adapt programs to real-time traffic demands and thus reduce traffic congestion in urban areas. An effective ITS providing real-time information for decision-making algorithms is needed by the ASCT.
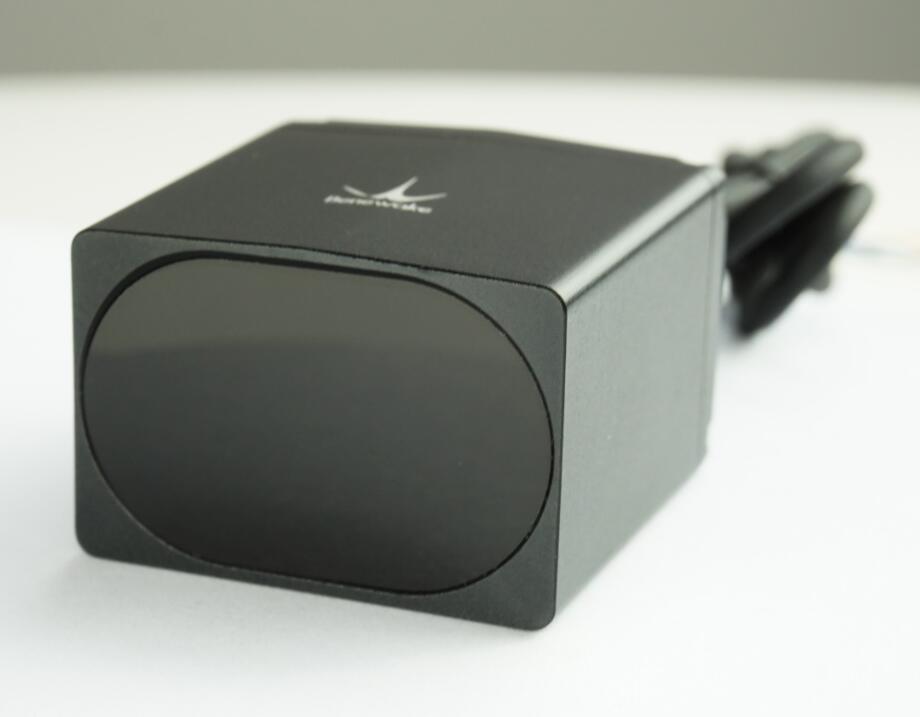
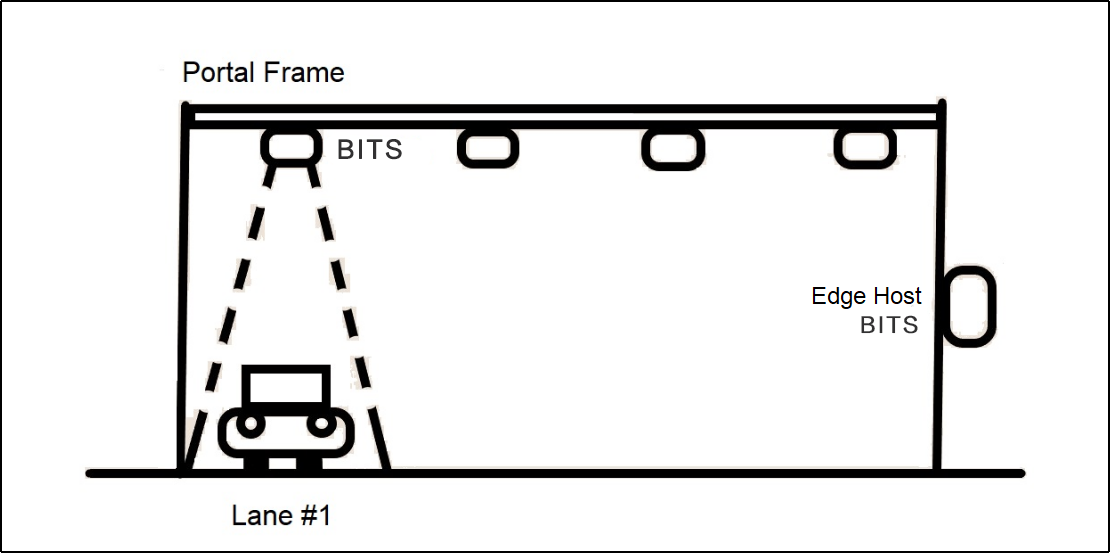
Benewake launched the BITS, the Benewake Intelligent Traffic System, to provide an effective traffic statistic collecting solution, which can effectively and accurately detect multiple types of traffic statistics, such as vehicle model (profile), vehicle speed, and vehicle height.
Based on Benewake’s single-point LiDAR, TF03, BITS consists of two parts: BITS-2A, collecting traffic statistics with two TF03s; BITS-C, the control board used to process data collected by BITS-2A.
This solution is based on the Benewake single-point ToF LiDAR and consists of three parts: the data acquisition unit, using the Benewake single-point long-range LiDAR, TF03; the main control board, used to collect and process LiDAR information and control output results, control LED display screen (can be omitted); mechanical structure, used to install and fix the entire program.
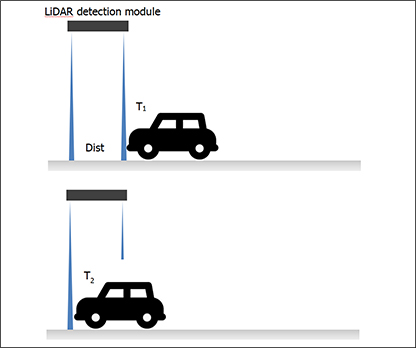
The two LiDARs are installed in the vertical ground direction and the tilt-to-ground (40 °) direction. The tilt LiDAR and the vertical LiDAR can detect the vehicle successively, calculate the trigger time difference between the two, and then calculate the vehicle’s driving speed. In addition, the data measured by the vertical LiDAR can restore the contour information of the vehicle. Finally, a neural network algorithm completes the model recognition.
Vehicle height information can be directly obtained by vertical LiDAR measurement. Next, the two LiDARs calculate the vehicle speed and the trigger time, which calculates the available vehicle speed. Finally, the neural network algorithm matches and identifies the original data collected by LiDAR.
After completing the recognition test, the main control board directly transmits the test results to the customer’s central control system through the data line. Transmission content includes statistics of vehicle models, vehicle height, vehicle length, vehicle speed, and several vehicle models.
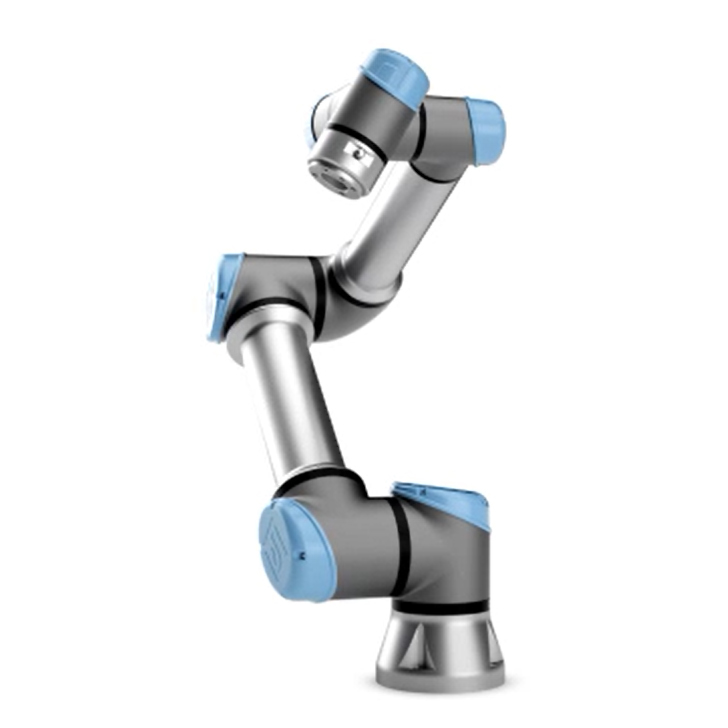
Since 2005, Universal Robots has worked to make a difference in our customers’ lives in ways that matter most to them. Universal Robots is a Danish manufacturer of smaller flexible industrial collaborative robot arms based in Odense, Denmark. The business volume in 2020 was USD 219 million. The company has over 700 employees and over 1,100 partners around the world.
More than simply automation, Universal Robots changes how people work and live around the globe by empowering their ideas and dreams – helping a non-profit improve people’s vision in the poorest countries or allowing a manufacturer to reduce the strain of repetitive tasks.
Advanced tools, our easy-to-use robot arms are used by companies and organizations of all sizes to help address market volatility. UR’s cobot solutions deliver the flexibility and financial return manufacturers need to compete and win in any market. So wherever you find people and their dreams for achieving growth, you’ll find Universal Robots.
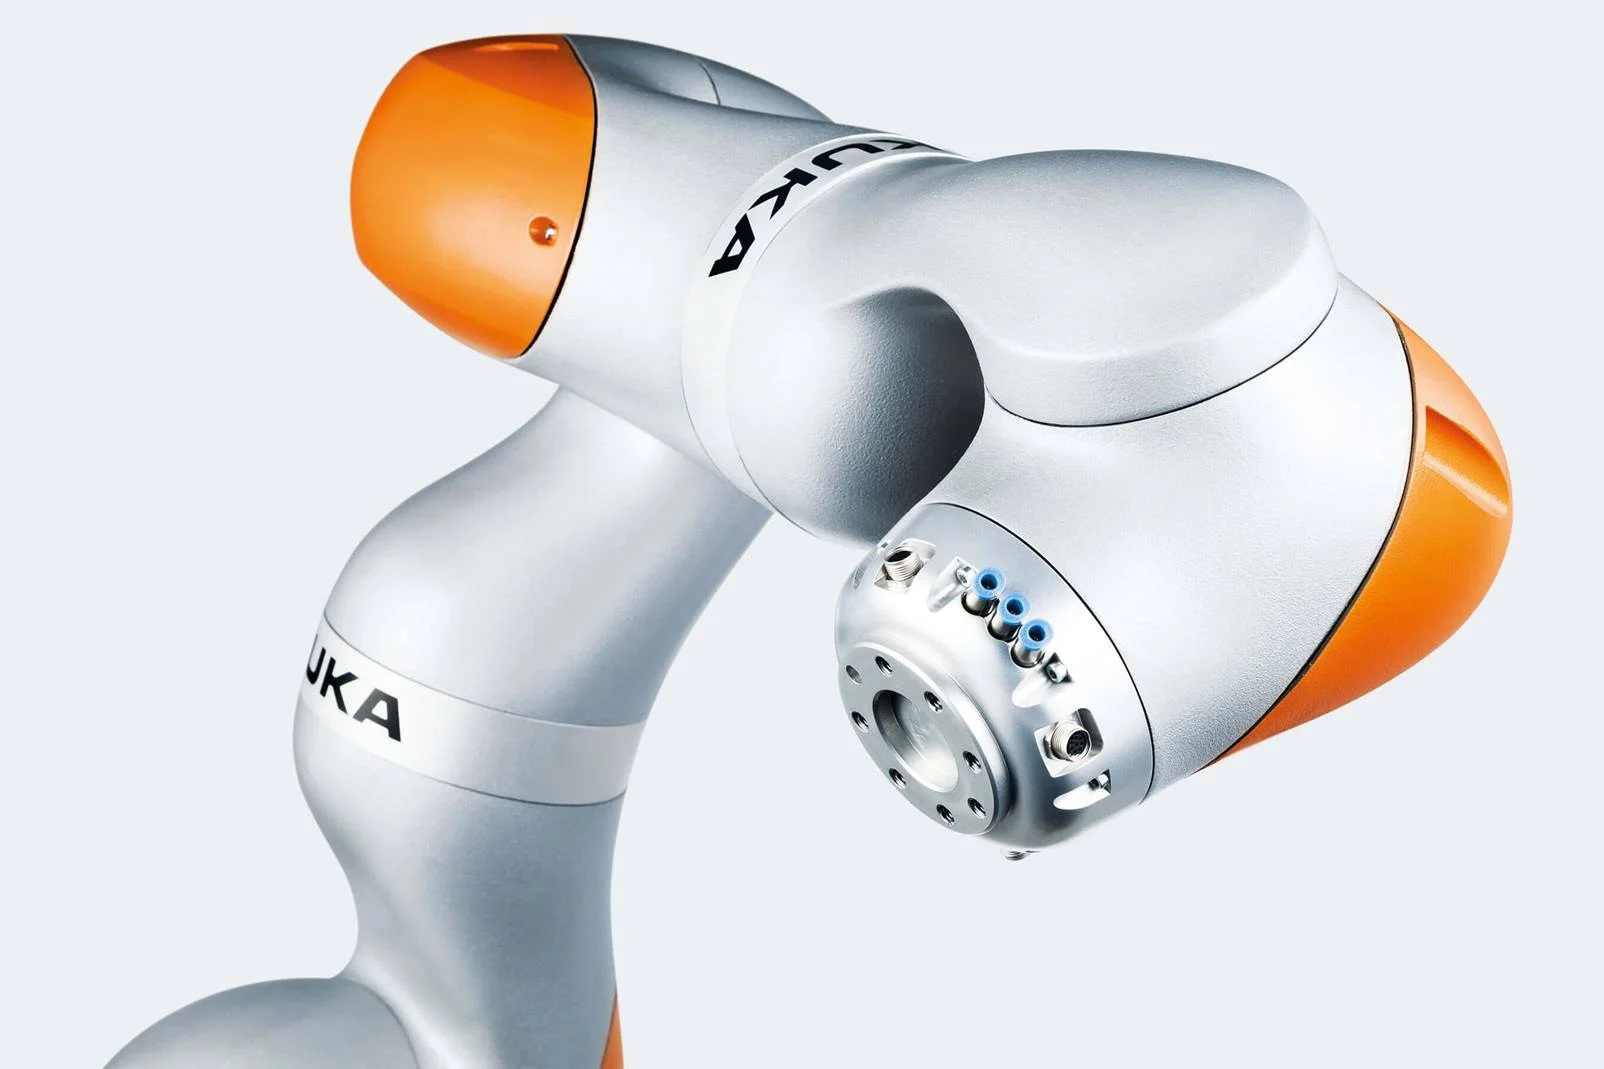
KUKA Robots offers industrial robots in various versions with various payload capacities and reaches. Their spectrum of products also includes the appropriate robot peripheral equipment – from linear units to end effectors. Combined with cutting-edge software and innovative controllers, we develop individual solutions for your manufacturing processes together with you. Whether for maximum speeds behind the safety fence of your system, as a mobile solution for your Industrie 4.0 requirements, or direct collaboration between humans and machines in HRC operation. KUKA Robots is a German manufacturer of industrial robots and systems for factory automation. It has been predominantly owned by the Chinese company Midea Group since 2016.
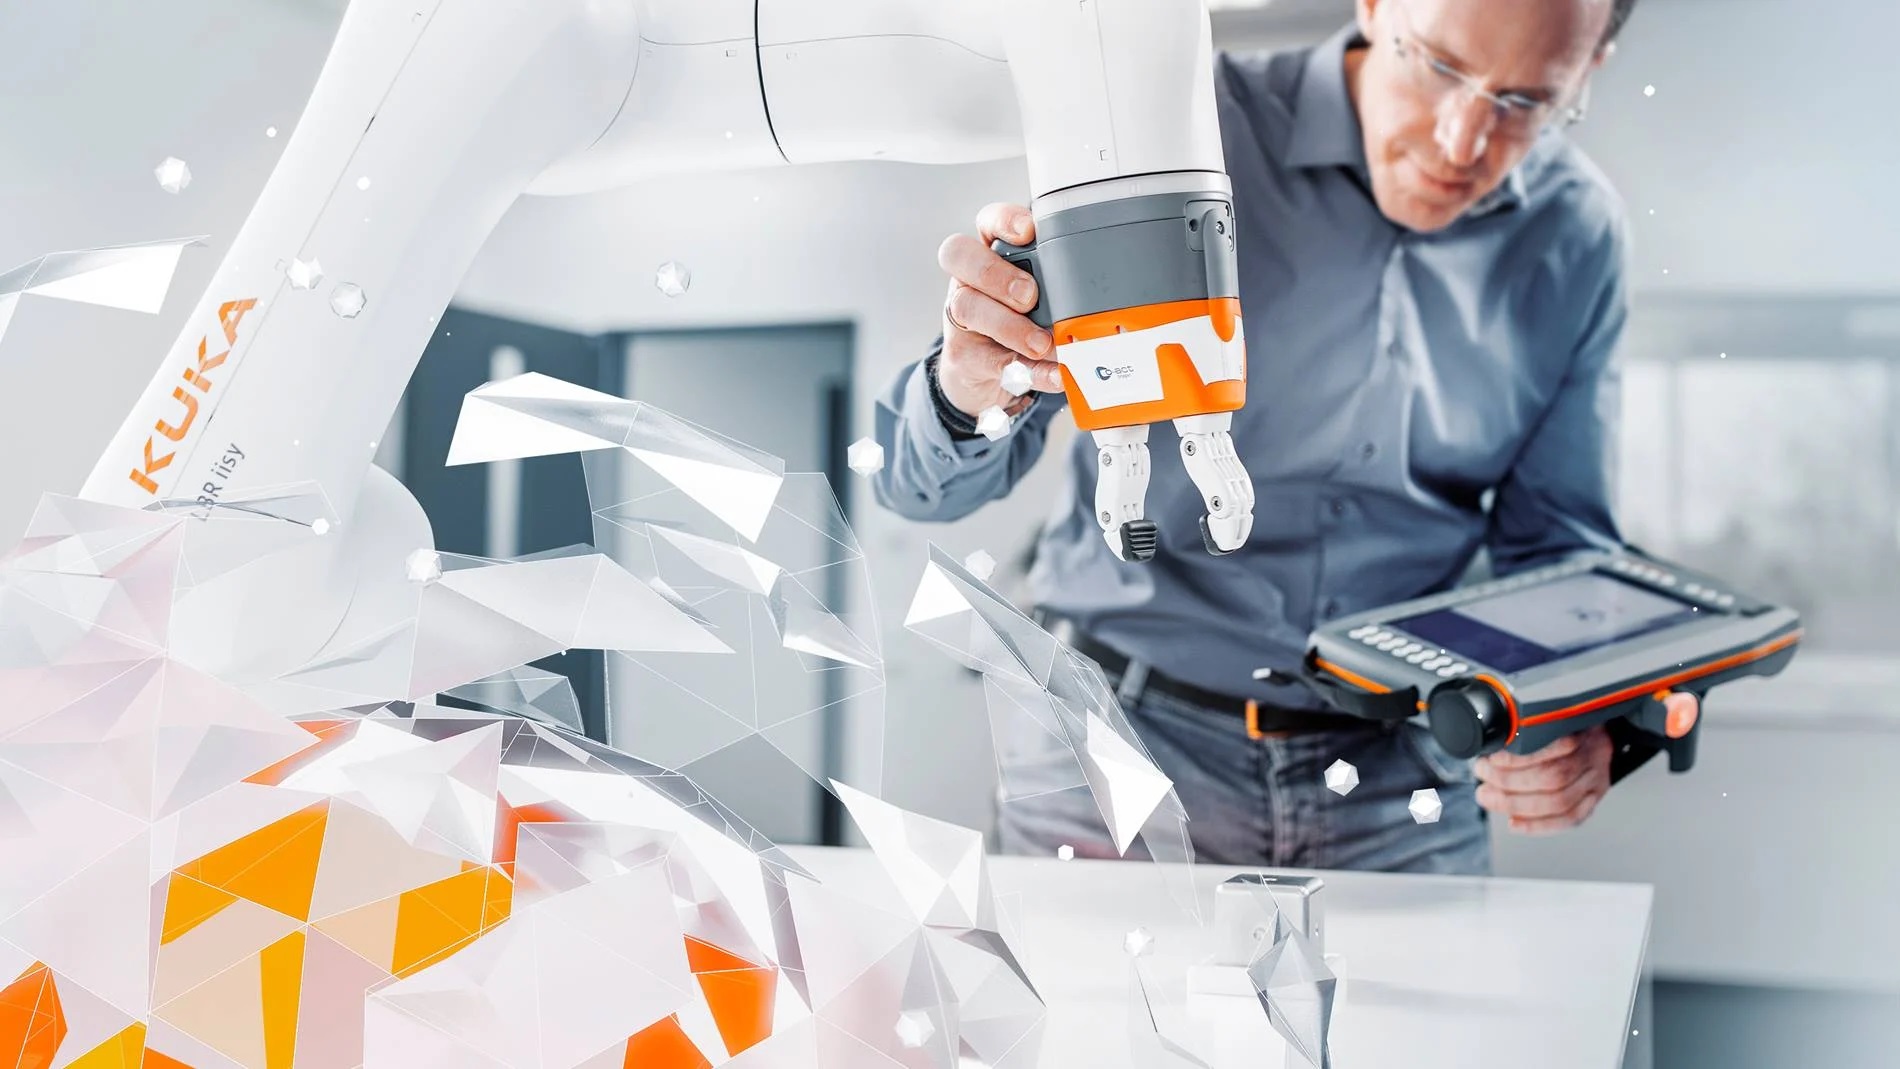
KUKA Robots is a global automation corporation with around 3.3 billion euros in sales and roughly 14,000 employees. The company is headquartered in Augsburg, Germany. As one of the world’s leading suppliers of intelligent automation solutions, KUKA offers customers everything they need from a single source: from robots and cells to fully automated systems and their networking in markets such as automotive, electronics, metal & plastic, consumer goods, e-commerce/retail, and healthcare.
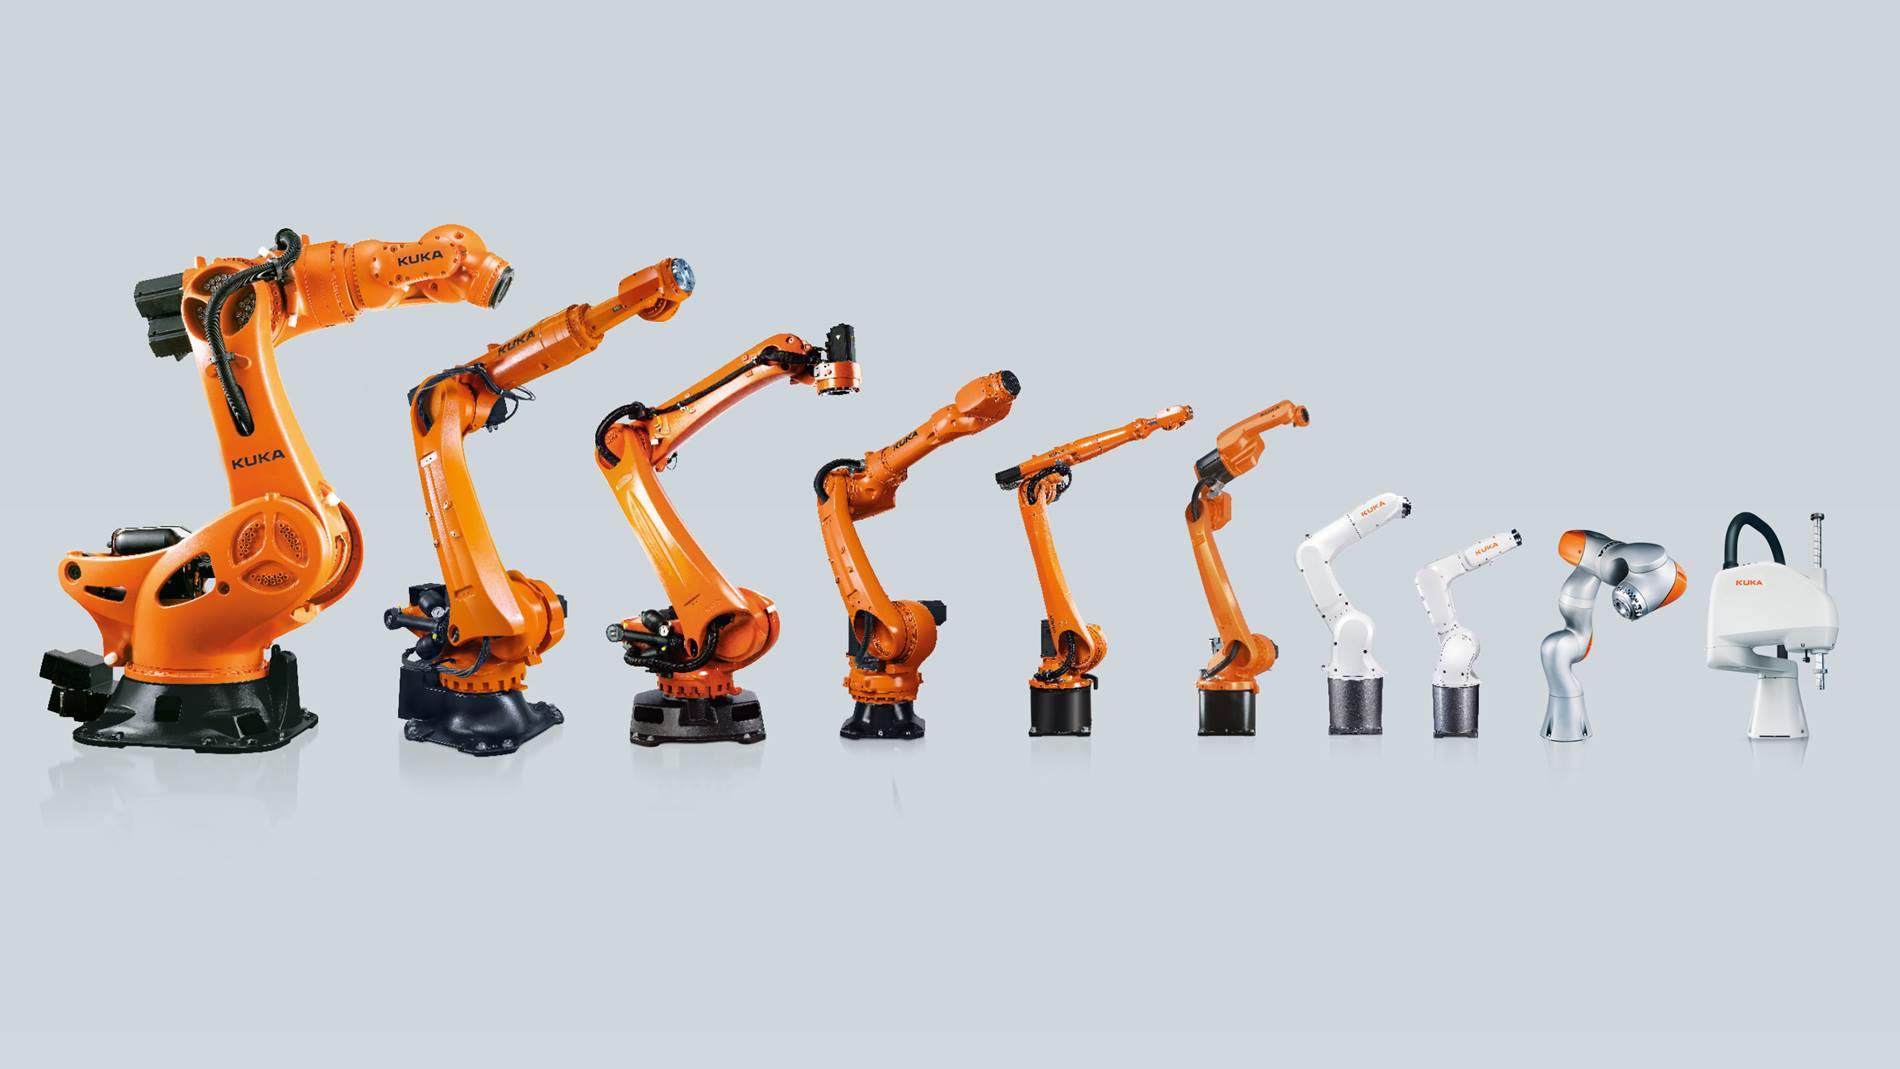
Whether it is robotics, automation, logistics, or electronics – KUKA merges its expertise with a single goal: to give its customers a decisive edge. With this aim, the KUKA brand sets global standards. Customized solutions of top quality have been an expression of their focus on customers’ needs since their founding.
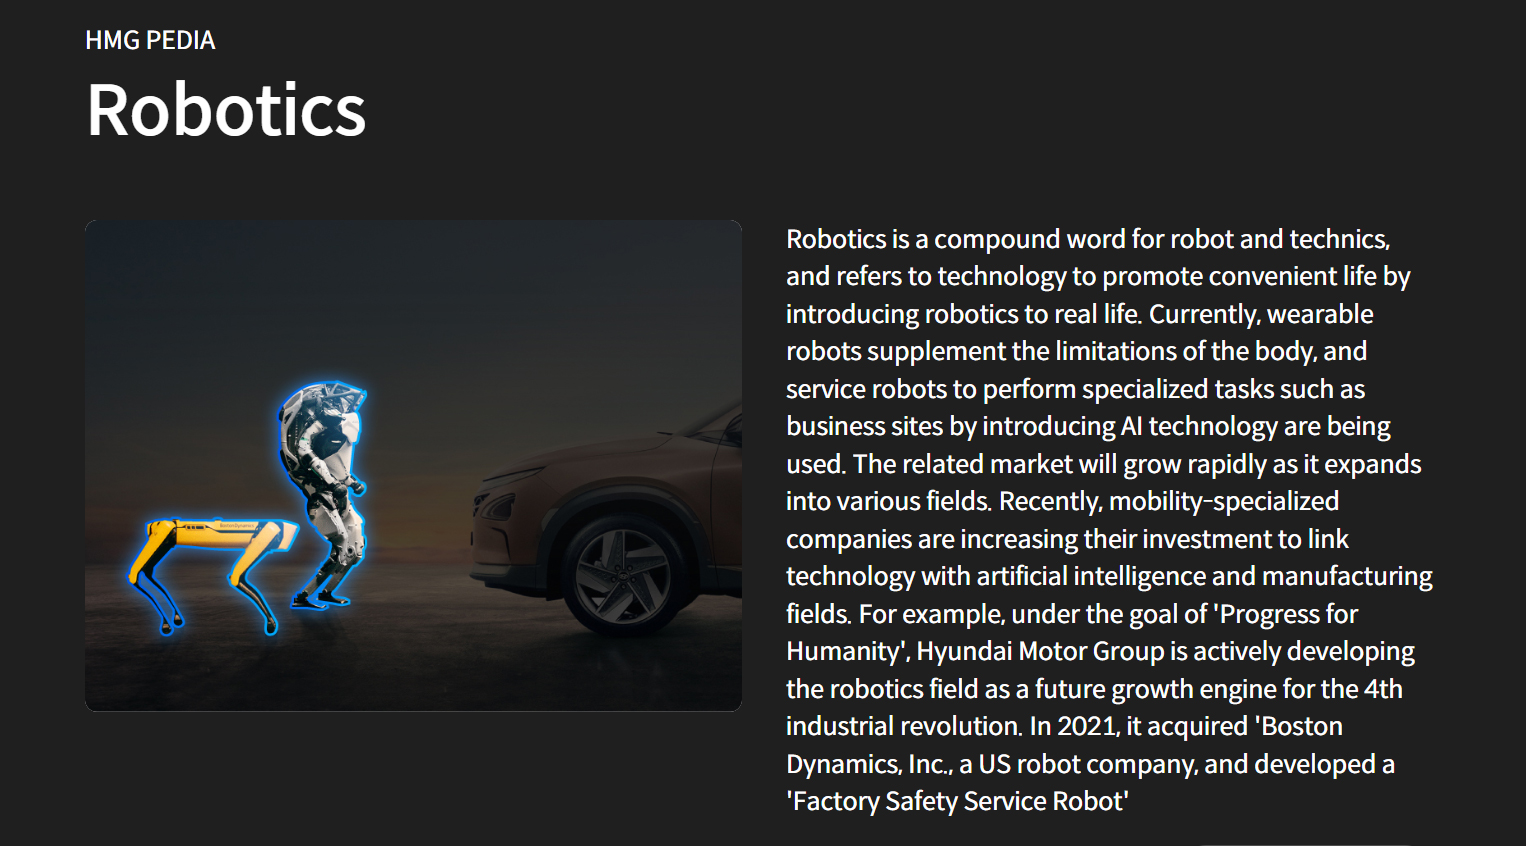
Hyundai Motor Group is actively developing the robotics field as a future growth engine for the 4th industrial revolution. In 2021, they acquired ‘Boston Dynamics, Inc., a US robot company, and developed a ‘Factory Safety Service Robot’ equipped with artificial intelligence-based software.
According to the Hyundai Robotics team, the robotic market is expected to increase as it expands into various fields. Recently, mobility-specialized companies are increasing their investment to link technology with artificial intelligence and manufacturing fields. For example, under the goal of ‘Progress for Humanity.
Hyundai and Kia Motors recognized this as a ‘customer-oriented manufacturing platform implemented with technology’ and unveiled ‘E-FOREST,’ a smart factory brand. E-FOREST is ‘Auto-FLEX,’ meaning flexible and advanced assembly, logistics, and inspection automation; ‘Intelligent,’ meaning the establishment of an AI-based autonomous control system; It aims for three values, ‘Humanity,’ and plans to open up the infinite possibilities of future mobility by organically connecting people, nature, and technology.
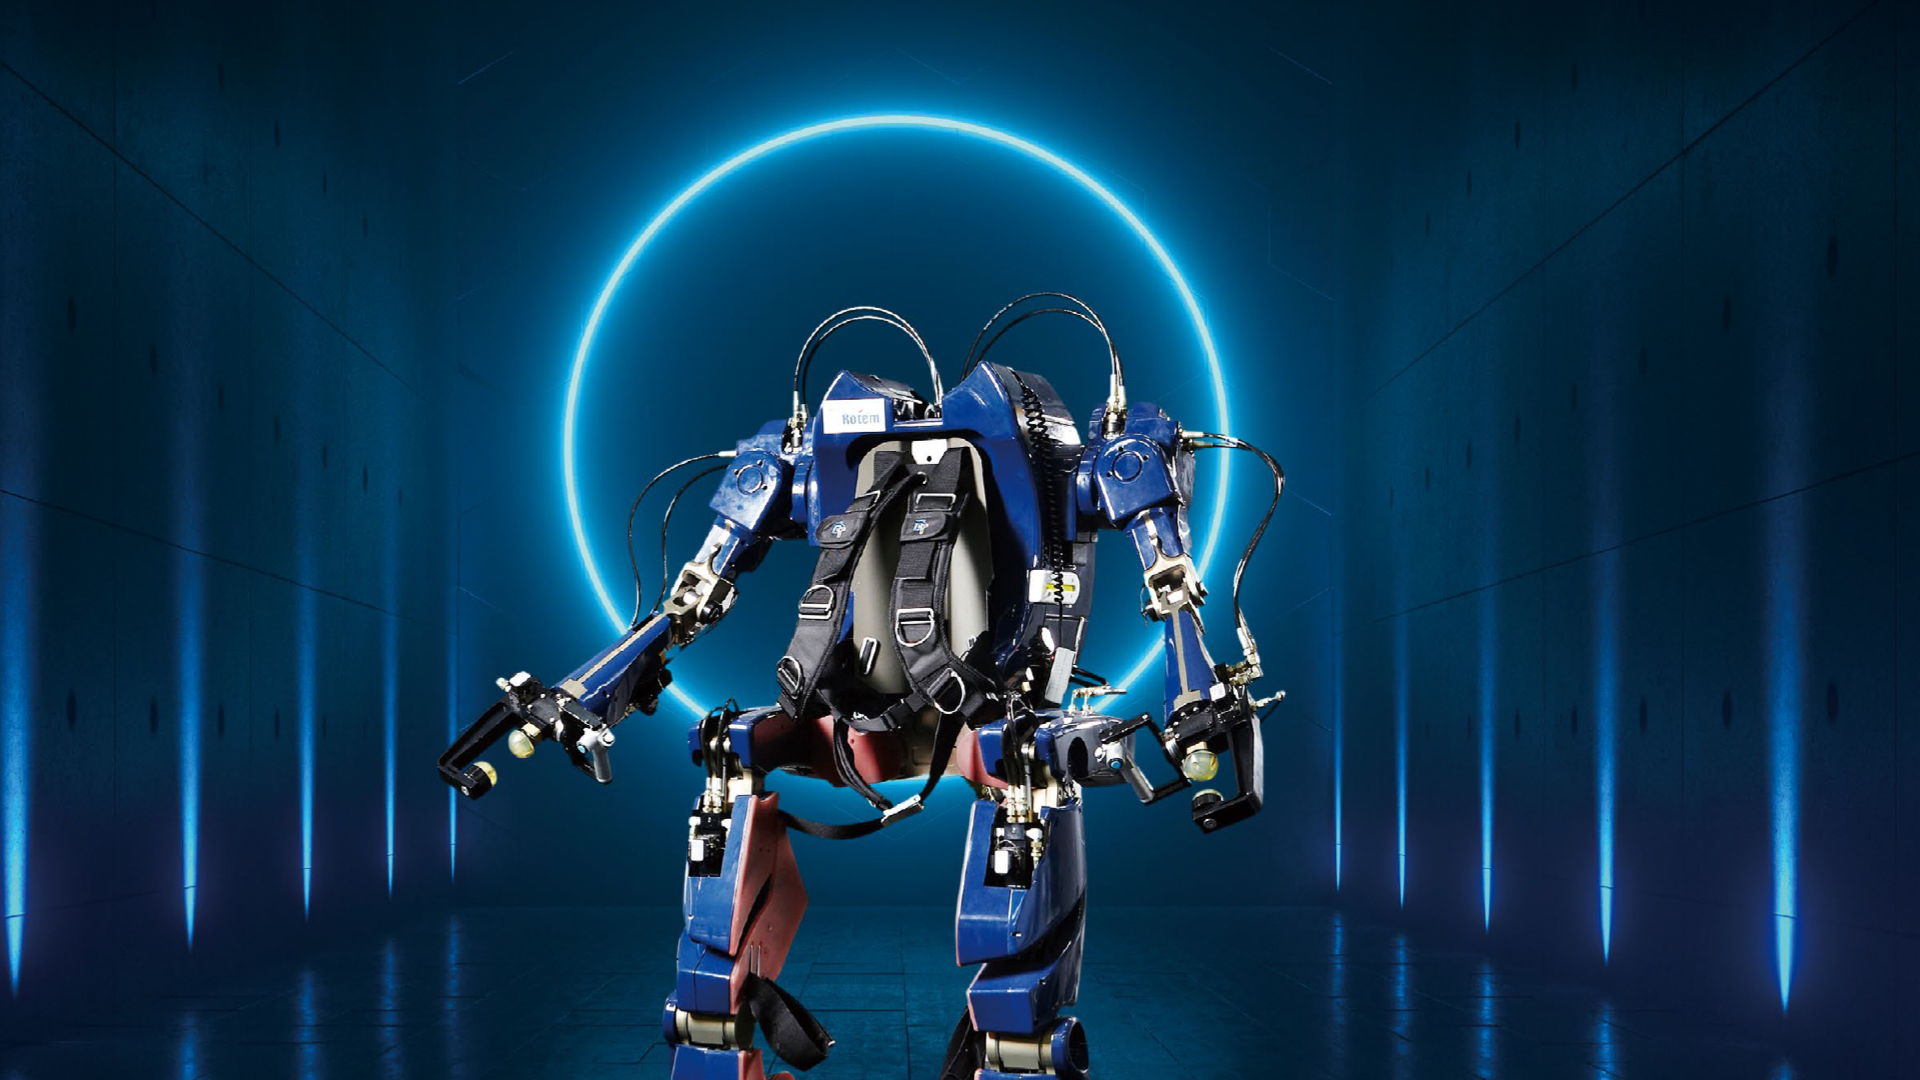
The most significant value of Hyundai Motor Group is ‘people-oriented.’ This is why Hyundai Motor Group puts excellent effort into robot R&D. This is because the more precisely the robot evolves, the safer and more convenient life can be. The robotics field is one of the five new businesses that are the future growth engine of Hyundai Motor Group. The three robot fields – wearable robots, service robots, and micro-mobility – are the answer to the age of the 4th industrial revolution and an aging society, where advanced technologies and concerns about technological alienation coexist.
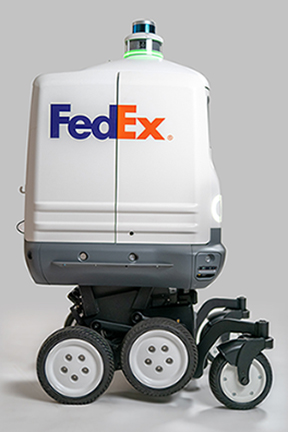
Roxo operates on sidewalks, bike lanes and roadsides, and is designed to be used in a three-to-five mile radius of a retailer’s location. We specifically designed Roxo for reliable, autonomous last-mile delivery that can deliver to a customer’s door, including climbing the curb, traveling up the sidewalk, and climbing deep terrace steps.
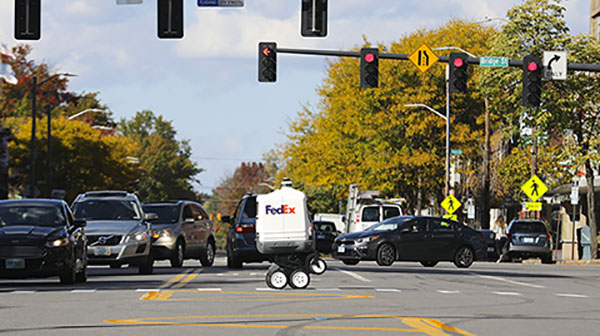
Further testing is being planned, targeting customer use cases like auto parts, pizza delivery, home improvement, general merchandise, and groceries.
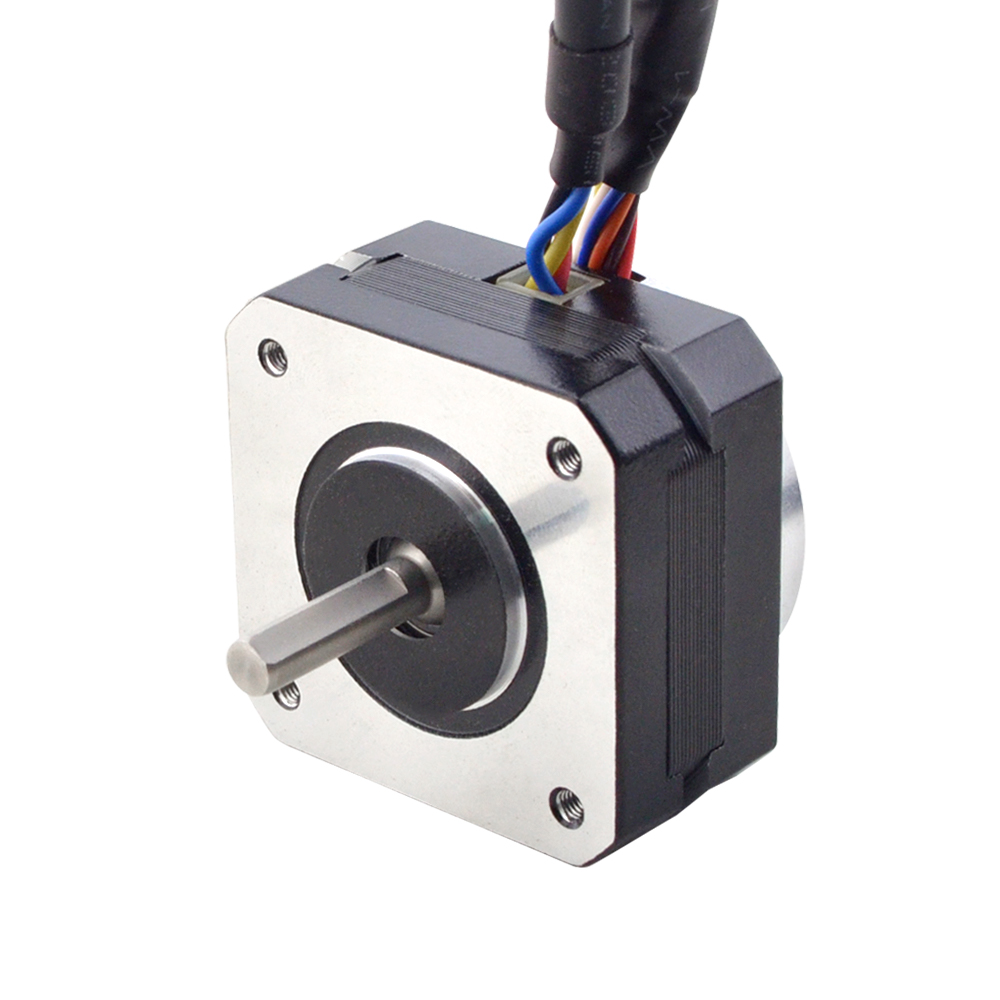
Under different voltages, the performance of stepper motors will be different. Generally, the higher the voltage, the better the speed and torque performance of the stepper motor. However, increasing the voltage also causes an increase in current, which may overheat the motor and possibly even damage the driver.
The motor’s low-speed vibration will be larger when working under high voltage. We recommend that the driving voltage be selected according to the size of the motor base (but may be limited by the driver).
| Motor | Voltage |
|---|---|
| NEMA8—17 | 12-24VDC |
| NEMA23—24 | 24-48VDC |
| NEMA34 | 36-60VDC |
| NEMA42 | 60-100VDC |
To properly drive a stepper motor at different voltages, the following points need to be considered:
Current: The stepper motor has a rated current, the best working current considered in the design. If the current exceeds the rated value, the electric
The machine may overheat and be damaged. At different voltages, the current may vary. To protect the motor, a current limit can be used
driver to control the current.
Driver: An appropriate driver must be used to drive the stepper motor at different voltages properly. The driver should be able to input
The voltage adjusts the output current to maintain a constant current. This can be achieved using a constant current source driver, which automatically adjusts the
output voltage to maintain a constant current.
In summary, stepper motors work at different voltages as follows: A change in voltage causes a change in current, so you need to use an appropriate driver to protect the motor and achieve optimum performance. When designing the system, the rated voltage and current of the motor should be considered, an appropriate driver should be selected, and control strategies should be used. Source
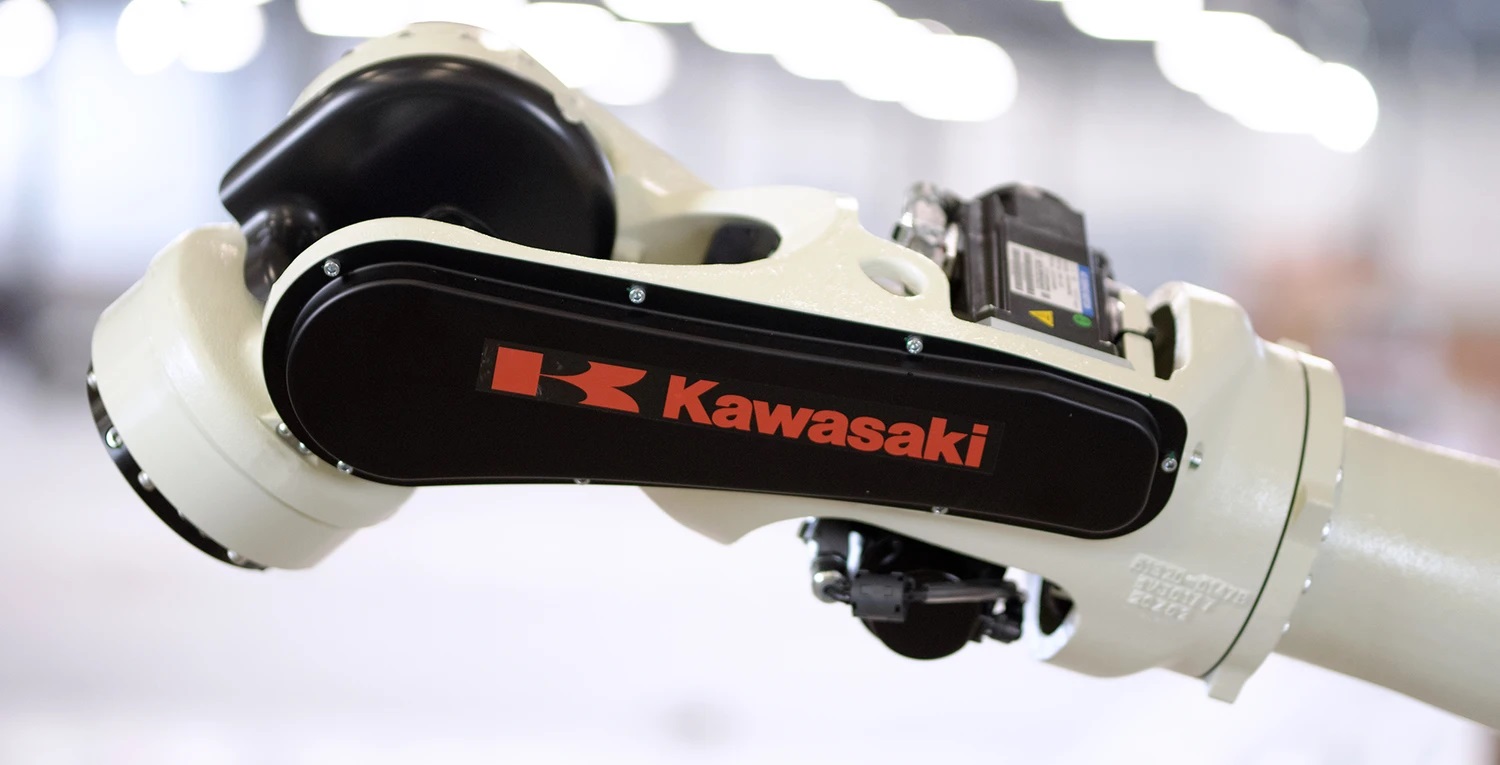

In 1969, Kawasaki Heavy Industries manufactured the first industrial robot in Japan. Since then, they have stood as one of the leading robot manufacturers, with their products used to develop automotive and other industries in Japan and around the world with their customers.
As a pioneer in industrial robot manufacturing, they have developed and supplied high-quality, high-performance robots for various applications such as welding, assembly, material handling, painting, and palletizing. Their robots work in diverse sectors, including the automotive, electrical, and electronics sectors, drawing on technologies and experience accumulated during decades of experience.
They offer solutions that meet consumers’ needs for automation, labor-saving efforts, enhanced productivity, quality, and the work environment.
Since 1878, Kawasaki Heavy Industries has manufactured products ranging from ships, planes, and motorcycles to industrial robot arms for automotive and general industries. Driven by decades of experience in manufacturing, they focused on creating industry-leading robots that they would want to use in their factories. As a result, Kawasaki Robotics is known for producing high-quality industrial robots that stand the test of time as manufacturing evolves.
![]()
![]()
![]()
![]()
![]()
![]()
![]()
![]()
![]()
![]()
![]()
![]()
![]()
![]()
![]()
![]()
![]()
![]()
![]()